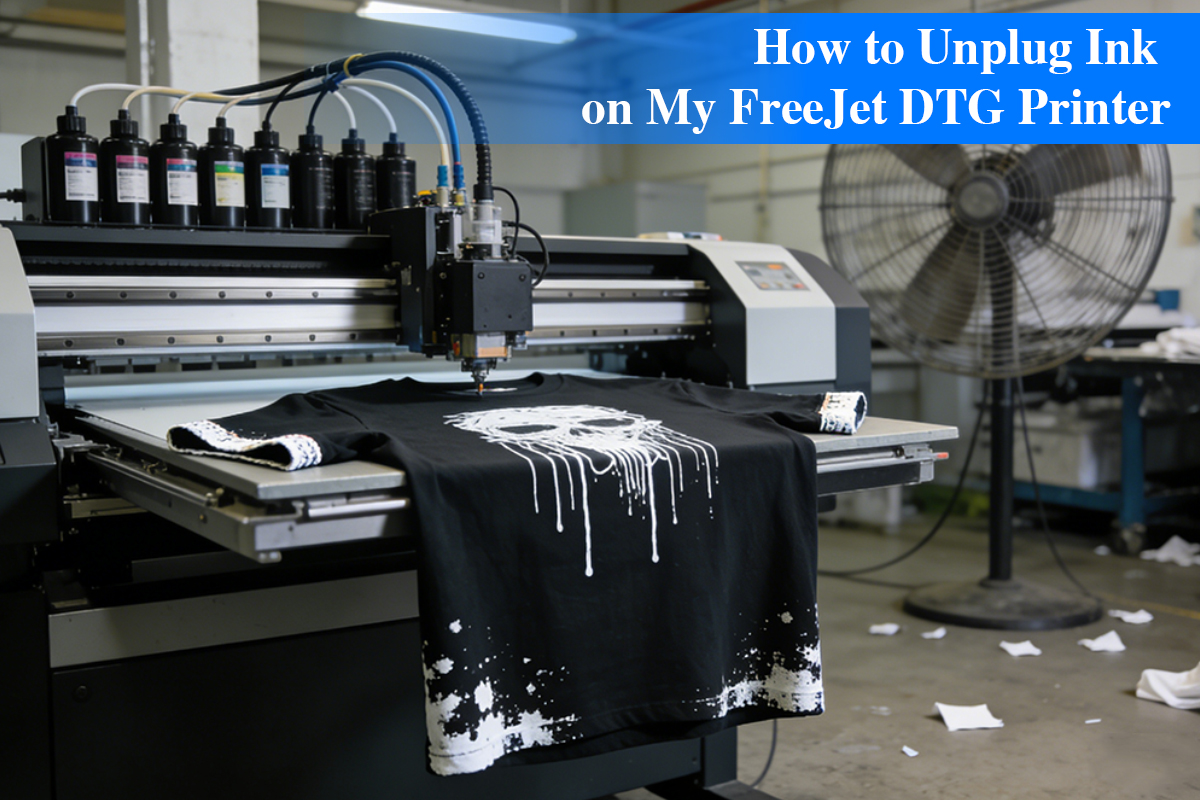
On a DTG (Direct-to-Garment) production floor, the condition of a FreeJet printhead can make or break the day’s profit.
When missing lines appear, many operators instinctively keep clicking “Power Cleaning”—and that habit is often the beginning of irreversible printhead damage.
Unclogging a printhead is not simply about “forcing ink through.”
It is a coordinated operation involving fluid dynamics, micro-scale physics, and ink chemistry.
Our research shows that only by understanding what actually happens inside the nozzle at a microscopic level can you recover print performance without sacrificing the hardware itself.

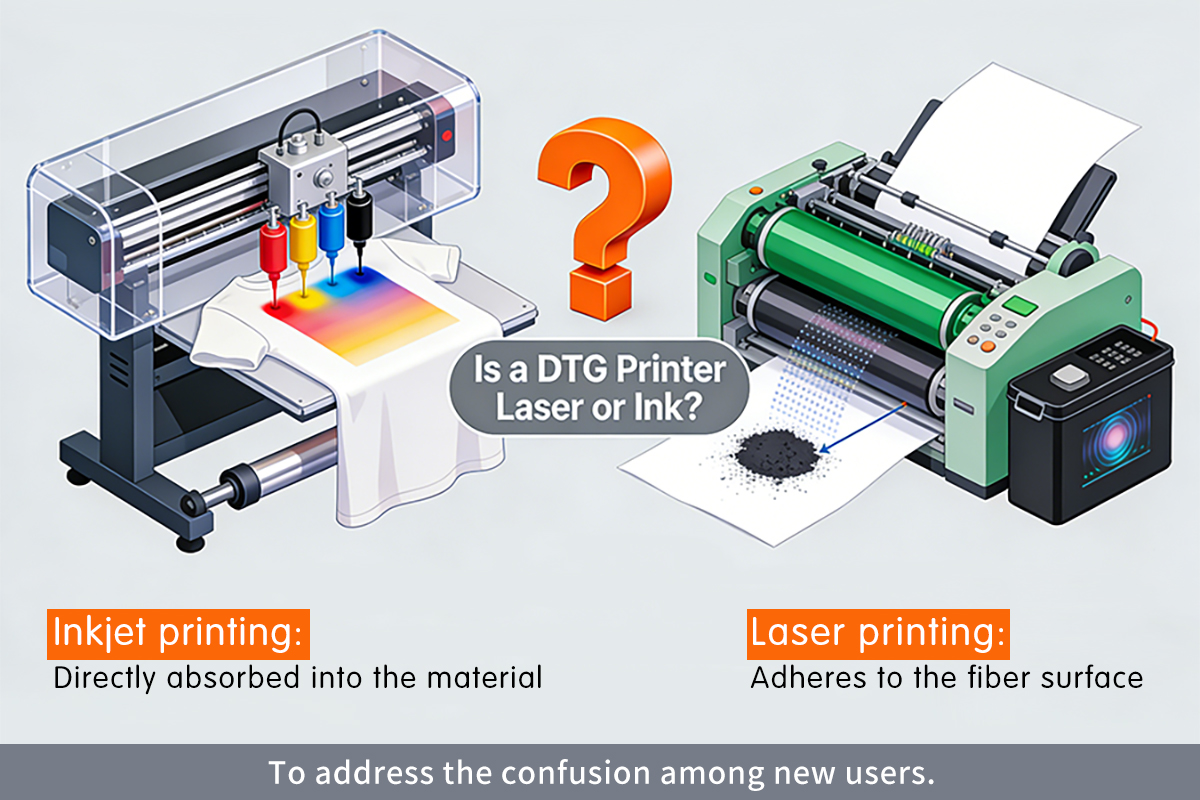
What Really Happens Inside a FreeJet Nozzle?
FreeJet printers use Epson-based high-precision piezoelectric printheads, where nozzle diameters are extremely small.
DTG inks—especially high titanium-dioxide white inks—undergo physical changes when left static.
Before touching the machine, it’s critical to understand the three distinct layers of nozzle blockage from a physics perspective.
1. “False Locking” from Solvent Evaporation
(Surface Dry Film Formation)
DTG ink—especially white ink—is a water-based film-forming system.
When the printhead is exposed to air, moisture at the nozzle surface evaporates rapidly. Pigments and resins then bind together, forming an extremely tough nano-scale dry film.
This layer acts like a sealed bottle cap, preventing fresh ink from exiting—even though the ink path itself may still be open.
2. The “Silt Effect” of Pigment Sedimentation
Titanium dioxide particles in white ink are extremely dense.
When suspension dynamics are disrupted—due to insufficient agitation or excessive temperature fluctuation—these particles physically settle, especially at manifold bends.
At this stage, the blockage is not “dried ink.”
It is more like a pipe filled with sand.
3. Air Lock and Pressure Imbalance
Frequent dry suction or excessive cleaning can introduce air into the printhead.
Because air is compressible, internal pressure fails to transmit effectively to the nozzle—creating the illusion that “ink is present but won’t print.”
A 5-Step Professional Printhead Recovery Protocol
Before any hands-on operation, one principle must be clear:
A printhead is not a disposable plastic part.
It is a microfluidic processor integrating piezo ceramics, precision filters, and nano-scale flow channels.
Blind pressurization is the most common cause of internal leakage or electrical failure.
The following five methods are designed progressively—from mild to intensive—based on fluid penetration, pressure balance, and chemical polarity.
They aim not just to “clear nozzles,” but to restore proper fluid dynamics while protecting the printhead’s internal structure.
Always follow the sequence. Escalate only if necessary.
Step 1: Thermodynamic Penetration
(Heated Wet Capping Method)
For surface-level dried film
Best for:
Minor nozzle dropouts caused by uncovered printheads or low ambient humidity.
Why it works:
As DTG ink dries, resins undergo a glass transition.
Heating the cleaning solution to 45–50°C (113–122°F) disrupts polymer chain alignment and increases molecular motion—boosting penetration efficiency by over 3× compared to room temperature.
Procedure:
Fill the capping station with warmed cleaning fluid until surface tension forms a slight dome.
Power off and dock the printhead, ensuring the nozzle plate is fully submerged.
Technician tip:
Soak for 2–4 hours.
Never exceed 60°C (140°F)—higher temperatures can soften internal adhesives and cause delamination.
Step 2: Negative Pressure Fluid Guidance
(Vacuum Reverse Extraction)
For air locks and loose sediment
Best for:
Repeated cleaning cycles fail, air bubbles are visible, or white ink separation is evident.
Core logic:
The internal structure of a printhead behaves like a funnel.
Applying pressure from above concentrates force on the internal filter—risking mechanical damage.
Pulling from below is far safer than pushing from above.
Steps:
- Ensure perfect sealing between the printhead and capping station.
- Connect a syringe to the waste ink tube downstream of the pump.
- Pull slowly and steadily while observing ink flow.
Critical warning:
Never push ink downward from the damper side.
Sudden pressure spikes can rupture the internal damping membrane, causing permanent misfiring or internal leakage.
Step 3: Chemical Polarity Intervention
(Targeted Solvent Method)
For pigment agglomeration
Best for:
Low-quality ink or long storage causes pigment flocculation inside the head.
Technical principle:
Simple flushing is ineffective here.
Professional cleaning fluids contain chelating agents and dispersants that break Van der Waals forces between pigment clusters.
Procedure:
Inject cleaning solution into the printhead manifold via tubing.
Let it dwell internally for 30 minutes.
Think of this as “breaking up phlegm”—returning solid clusters to a flowable dispersion.
Step 4: Interface Restoration
(Wiper & Pump Station Refurbishment)
For recurring clogs
Key insight:
If nozzles clog again after just a few prints, the problem is often not inside the printhead, but at the wiper.
Why it matters:
A wiper loaded with semi-dried ink acts like sandpaper—forcing contaminants back into the nozzles.
A hardened wiper also damages the nozzle plate’s non-wetting coating.
Best practice:
Use lint-free swabs and alcohol only on rubber components (never on the nozzle plate).
Clean the wiper and capping seal thoroughly.
If the wiper has hardened or cracked, replace it immediately.
Step 5: Controlled Micro-Pulse Agitation
(Deep Manifold Recovery)
For severe titanium dioxide buildup
Best for:
Heavy blockages caused by hardened white ink deposits at manifold bends.
Technique:
- Draw 2 ml cleaning fluid + 2 ml air into a 10 ml syringe (air acts as a buffer).
- Connect via tubing.
- Perform gentle push–pull micro strokes.
Control parameters:
- Stroke volume: 0.2–0.5 ml
- Frequency: ~2 cycles per second
Tactile rule:
This creates mild turbulence—similar to ultrasonic agitation, but safer.
Your hand should feel like fine watch adjustment.
If solid resistance is felt, stop immediately—never force pressure.
Root Cause Analysis & Preventive Strategy
1. Ink Quality: Microscopic Physical Accumulation
Cause:
Low-grade inks have poor particle distribution (high PDI).
Large pigment particles behave like sand in narrow pipes, accumulating at manifold corners and forming irreversible blockages.
Prevention:
- Use nano-milled inks:
Winnerjet’s high-suspension formulations maintain stable Brownian motion, preventing sedimentation. - Daily “figure-eight” agitation:
Gently shake white ink bottles for 30 seconds before startup to reactivate suspension dynamics.
2. Environmental Temperature & Humidity
The silent killer of ink systems
Cause:
Below 40% RH, solvent evaporation at the nozzle accelerates exponentially, pushing ink into a glassy, film-forming state.
Prevention:
- Humidity standard: Maintain 40–60% RH with a calibrated hygrometer and industrial humidifier.
- Thermal stability: Keep room temperature between 20–28°C (68–82°F) to avoid viscosity-driven pressure imbalance.
3. Long-Term Idle Time
Loss of fluid activity
Cause:
DTG ink systems require constant circulation.
After 48 hours of inactivity without chemical protection, static ink begins to crystallize—like a dried riverbed.
Prevention:
- Forced fluid activation: Print a full-color test pattern every 24 hours, even without orders.
- Wet capping protection:
For downtime over 48 hours, fill the capping station with professional moisturizing fluid to create an airtight wet seal.
Beyond Maintenance: The Physics of Long-Term Stability
After clearing clogs, one question remains:
Why do some DTG systems run for weeks uninterrupted, while others fall into a cycle of print → clean → clog?
Maintenance is emergency care.
True stability depends on ink–hardware fluid compatibility.
At its core, a healthy DTG system balances two physical parameters:
1. Controlled Shear-Thinning Behavior
High-performance DTG ink must behave dynamically:
High viscosity at rest → prevents TiO₂ settling
Instant viscosity drop under shear → allows smooth ejection at high firing frequencies
Winnerjet solution:
Our Power-Stable DTG Ink Series uses proprietary rheology modifiers.
This design minimizes resistance during firing while preventing sedimentation during idle periods—dramatically reducing manifold “silt buildup.”
2. Decap Time Control
The gold standard for consumables quality:
How long a nozzle can remain uncapped and still fire a perfect first drop.
Winnerjet solution:
We incorporate Hydra-Guard™ long-term humectants, forming an ultra-thin protective layer at the nozzle surface.
This slows solvent evaporation, reduces clogging, and cuts automatic cleaning ink waste by 15–20%.
Final Thoughts: Let Technology Stay Professional
A FreeJet printer is a precision fluid extrusion system.
Treat its printhead the way you would treat an optical lens.
If your equipment is trapped in constant maintenance cycles, the root cause may not be your workflow—but a broken fluid equilibrium between ink and hardware.
Winnerjet doesn’t just study ink.
We study printhead life cycles.
We offer:
- Power-Flush™ laboratory-grade maintenance kits, and
- NextGen DTG inks optimized for long-term FreeJet stability.
Fixing problems is only step one.
Building a production line that runs without constant intervention is the real goal.
If you’re facing stubborn, unresolved clogs, our engineers are ready to help.
Every printhead deserves a second chance.[contact us]