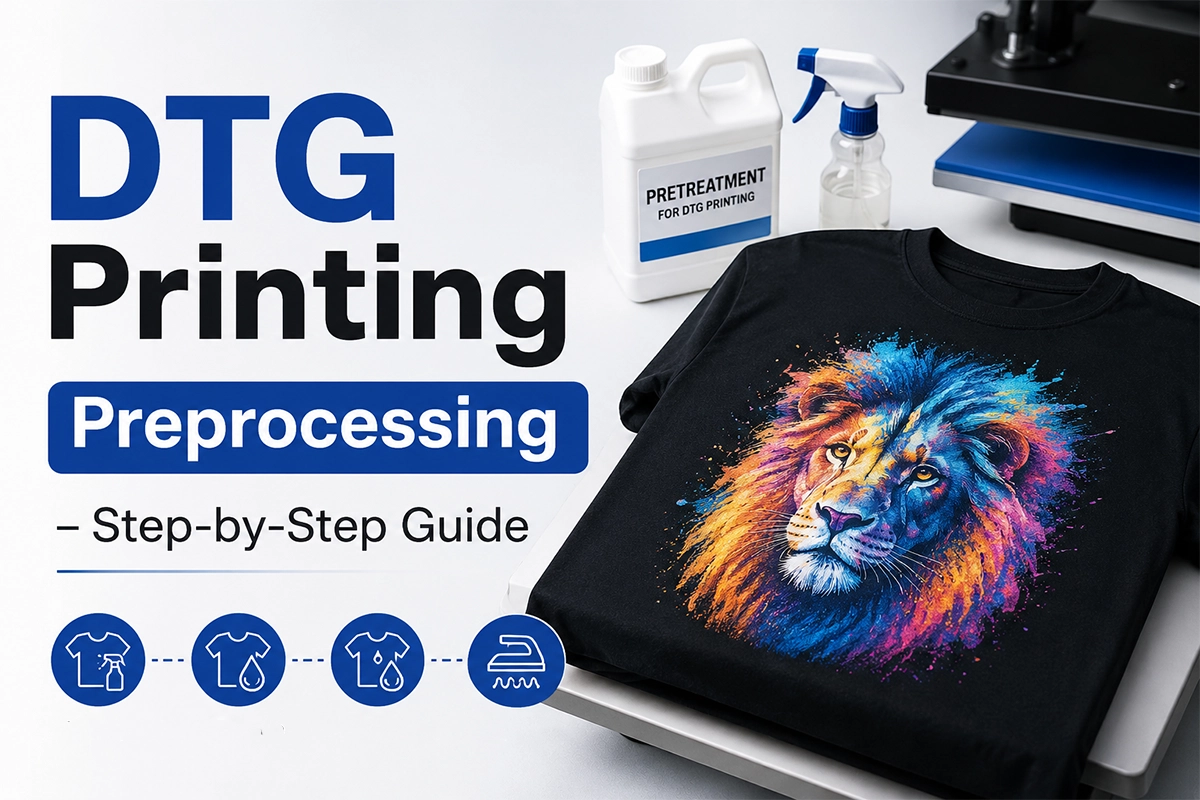
Are your DTG prints coming out dull, cracking, or fading after just a few washes? The issue almost always stems from improper pretreatment.
Pretreatment is the most critical foundation in Direct-to-Garment (DTG) printing—especially for dark cotton garments requiring white ink. Applied correctly, it locks ink into the top fibers, ensures vibrant color pop, and dramatically improves wash durability.
⚡ Quick DTG Pretreatment Key Highlights
Optimal Spray Amount: 20–25g for dark garments; 10–15g for light garments.
Curing Parameters: Heat press at 160°C (320°F) for 30–40 seconds with medium pressure.
Pro Tip: Always use a silicon parchment paper or Teflon sheet to avoid yellowing.
🧪 Why Pretreatment Is Important in DTG Printing
Pretreatment prepares the fabric before the ink goes on. Here’s why it’s important:
- Makes Colors Pop – Pretreatment stops ink from soaking into the shirt. This keeps colors bright and bold.
- Keeps Edges Sharp – It helps designs stay crisp and clean.
- Prevents Fading – Pretreated shirts last longer after washing.
- Helps White Ink Stick–On dark shirts, white ink won’t print well without pretreatment.
If you skip this step, your prints may crack, blur, or wash out quickly.
🔬 What Does Pretreatment Do?
Pretreatment is a special liquid sprayed onto the fabric. It:
- Creates a smooth surface for printing
- Helps ink stay on top of the shirt, not sink in
- Improves print quality and durability
Pretreatment is especially important when printing on dark garments or using white ink.
🎨 Light vs Dark Shirts: Do You Always Need Pretreatment?
| Shirt Color | Pretreatment Needed? | Why? |
|---|---|---|
| Light Colors | Optional (light coat) | Helps improve sharpness and avoid bleeding |
| Dark Colors | Required | Needed for white ink to bond properly |
💡 For light shirts, you can sometimes print without pretreatment, but the result won’t be as sharp. For dark shirts, you must pretreat, or the ink won’t stick well.
🛠️ How to Pretreat T-Shirts Correctly
Step 1: Garment Preparation
Use a lint roller to remove fuzz or lint from the fabric surface; ensure the garment lies flat.
Step 2: Spray Pretreatment Liquid Evenly
Specify the exact spray weight (e.g., a recommended 20–25g for dark-colored pure cotton T-shirts and 10–15g for light-colored T-shirts). Outline the operational differences between manual spray guns (suitable for small batches) and automatic spraying machines (suitable for factory settings or high-volume production).
Step 3: Heat Pressing & Curing
Set precise heat-pressing parameters: 160°C (320°F), 30–40 seconds, and medium pressure; a Teflon sheet or silicone paper must be used to prevent yellowing or pressure marks.
Step 4: Quality Inspection
Before mounting the garment onto your printer, quickly check the pretreated area using the criteria below:
✅ Pass (Pretreatment Successful):
Touch: Surface feels completely dry, smooth, and non-sticky.
Visual: Clean appearance with zero white residue, salt spots, or yellowing.
Fibers: Fabric fibers are pressed flat, creating a smooth printing surface.
❌ Fail (Do Not Print Yet):
Slightly Damp / Sticky: Requires an additional 10–15 seconds under the heat press.
White Residue / Stains: Caused by overspraying or unevaporation—reduce liquid volume for the next run.
⚙️ What Equipment Do You Need?
- Pretreatment Machine or Spray Gun – For even coating
- Heat Press Machine – To dry and flatten the shirt
- Lint Roller or Air Blower – To remove dust
- Protective Sheets – To avoid scorch marks
If you’re just starting, a manual sprayer works fine. For large jobs, an automatic machine saves time and gives more consistent results.
🧴 How to Choose the Right Pretreatment Liquid
The liquid you use depends on the shirt and ink:
| Fabric Type | Ink Type | Pretreatment Needed |
|---|---|---|
| Light Shirt | CMYK only | Light or none |
| Dark Shirt | White + CMYK | Strong pretreatment |
Winnerjet offers pretreatment solutions for both light and dark cotton shirts. If you’re unsure, try a sample and test your print quality.
💡 Pro Tips to Improve Pretreatment
- Don’t overspray the pretreatment — it can lead to stains.
- Always test compatibility with different fabric types. For example, Winnerjet’s DTG Pretreatment for Dark Shirts is ideal for strong white ink adhesion.
- Use a press with a built-in timer and even heat, like Winnerjet’s Pro Heat Press.
🔶 DTG Pretreatment Troubleshooting & Pro Tips
Issue 1: Prints Fade After Washing
Causes: Not enough pretreat liquid, or incomplete heat pressing drying.
Fixes: Add 3–5g more liquid on dark shirts. Heat press at 160°C (320°F) for 30–40s with medium pressure.
Issue 2: Yellow Stains or Fabric Discoloration
Causes: Overspraying pretreat liquid, or heat press is too hot/long.
Fixes: Reduce liquid amount. Use a Teflon sheet, or drop temp to 150°C for 45s.
Issue 3: Ink Peeling or Flaking
Causes: Printing while wet, or over-curing into a smooth surface.
Fixes: Make sure fabric is 100% dry and cool before printing. Reduce press pressure.
Issue 4: Blotchy or Uneven Colors
Causes: Uneven manual spraying, or rough fabric fibers standing up.
Fixes: Use a foam roller after spraying to smooth fibers and even out liquid.
Pro Tips
Weigh Liquids: Use a mini scale (Target: 20–25g for dark, 10–15g for light garments).
Match Formulas: Use cotton pretreat for cotton, and blended pretreat for blends.
✅ Final Thoughts
Pretreatment may seem like an extra step, but it makes a huge difference in DTG printing. It improves color, sharpness, and durability, especially for dark garments. By following the simple steps above, you can avoid common print problems and get better results.
Need help choosing a pretreatment liquid?
👉 [Contact Winnerjet] or request a free sample to test before buying.
📋 FAQs: Pretreatment in DTG Printing
Can I skip pretreatment on white shirts?
You can, but the print might look dull. A light mist improves results.
Why is my shirt getting yellow marks?
Too much pretreatment or heat. Use less liquid and check the press time.
How long can I wait to print after pretreating?
Print within 24–48 hours. Longer delays can affect ink bonding.
What happens if the shirt isn’t dry?
Wet shirts will cause the ink to blur or not stick properly.
Is polyester suitable for DTG?
Not really. DTG works best on cotton. Try DTF or sublimation for poly fabrics.