👋 Yes, You Can Do DTF Printing at Home
DTF printing is a great way to make custom t-shirts, tote bags, and more. You don’t need a big factory—just a few tools, some space at home, and a little practice.
This guide will show you:
- What tools and materials will you need
- How to print your design step-by-step
- Tips to help you get better results
- Mistakes to avoid when starting out
Let’s get started! 👇
🧰 What You Need for DTF Printing at Home
Here’s a quick list of everything you’ll need:
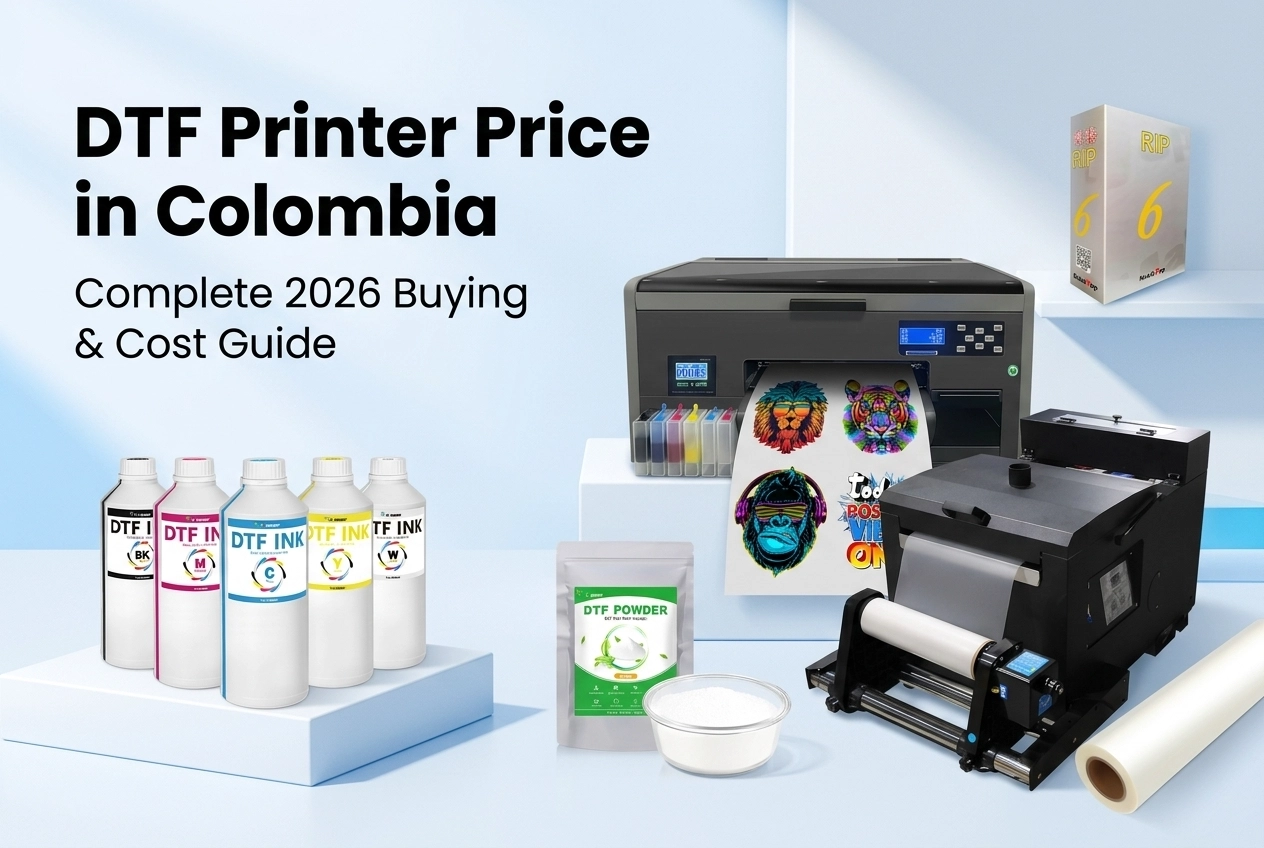
📌 DTF Printer – A printer that can use special DTF ink (many people use modified Epson printers).
📌 DTF Ink – Bright, washable ink made for DTF printing.
📌 DTF Film – A clear sheet that holds your printed design.
📌 DTF Powder – A powder that sticks the design to your fabric.
📌 Heat Press – A machine that uses heat to apply the design.
📌 Design Software – Programs like Photoshop or Canva to create your design.
👉 Winnerjet provides top-quality ink, film, and powder, perfect for home use.

💡 Top Home DTF Printer Recommendations for Beginners
Choosing your first DTF printer depends on your budget, technical skills, and production goals. Here is a breakdown of the three main options available for home users:
1. DIY Conversions (e.g., Epson ET-8550 / L1800) — Best for Low-Budget Beginners
- Estimated Cost: $300 – $800
- Converting a standard desktop EcoTank printer using a DTF conversion kit is the cheapest entry point into home DTF printing.
- These machines lack built-in white ink circulation. You must manually shake white ink tanks daily and perform frequent maintenance to prevent nozzle clogs.
2. Entry-Level Purpose-Built A3 Printers (e.g., Procolored L1800 / InkSonic R1390) — Best Value for DIY Crafters
- Estimated Cost: $1,500 – $2,500
- Modified specifically for DTF out of the box, featuring basic white ink circulation systems, heating platforms, and compact desktop designs perfect for home workspaces.
- deal for small daily outputs (10–30 t-shirts per day), but requires consistent weekly use to run smoothly.
3. All-in-One Beginner Systems (e.g., xTool Apparel DTF Printer) — Best for Turnkey Home Businesses
- Estimated Cost: $4,000 – $6,000
- Features automated maintenance, self-cleaning heads, AI-assisted RIP software, and integrated powder shakers—eliminating most beginner technical hurdles.
- Higher initial investment, but offers a hassle-free, “plug-and-play” experience for home-based Etsy shop owners and small apparel brands.
💡 Winnerjet Tip for Home Users: No matter which printer tier you choose, white ink clogging is the #1 issue beginners face. Always pair your printer with high-fluidity, non-clogging Winnerjet DTF Inks to extend your printhead life and maintain vibrant prints.
🖨️ How to Print with DTF at Home: Step-by-Step
1. Design & Prepare DTF Transfers at Home
Make your design using any software like Photoshop or Canva. Remember to flip the image horizontally (mirror image) before printing. If you want a deeper walkthrough on creating custom transfer sheets, check out our guide on how to make DTF transfers at home.
✅ Flip the image horizontally (mirror it) before printing.
2. Print on the DTF Film
Import your design into your RIP software (e.g., AcroRIP). Set up the white ink layer behind your color image and balance the ink output. Print on the coated (matte) side of the DTF film—the printer will output the color layer first, followed by a solid white backing.
3. Add the Powder
Right after printing, sprinkle the DTF powder over the wet ink.
Tilt the film to spread it evenly, then shake off the extra.
📌 Tip: Do this over a tray or clean surface so you can reuse the leftover powder.
4. Heat the Film
Use a heat press (without pressure) or an oven to melt the powder.
✅ Heat it at 160°C (320°F) for about 2–3 minutes until it looks shiny.
5. Transfer the Design to the Fabric
Place the film face down on the fabric.
Press it with heat at 160°C for 15–20 seconds.
Let it cool, then peel the film off slowly.
Press again for 5 seconds to lock in the design.
🎉 That’s it! You’ve just made your first custom print at home.
Looking to scale up from home crafting to a commercial t-shirt business? Watch how our industrial Winnerjet DTF printer system automates white ink circulation, powder curing, and high-speed printing.
📣 Tips for Better Results
- Choose a smooth fabric like cotton or polyester
- Make sure your film is dry and dust-free
- Always let the film cool before peeling it
- Practice on old fabric before printing on good shirts
🚫 Common Beginner Mistakes
- ❌ Using the wrong ink (you need DTF ink)
- ❌ Forgetting the white ink layer (colors won’t look good)
- ❌ Not heating the powder properly (design may not stick)
- ❌ Peeling the film too early (wait until it cools!)
✅ Final Thoughts + Quick Action Steps
Doing DTF printing at home is easier than you might think. With just a few tools and the right materials, you can make pro-level designs for shirts, bags, and more.
🎯 Want to get started today?
📩 Request a Free DTF Sample Pack
🛒 Order Winnerjet DTF Ink, Film & Powder
🧠 FAQs (People Also Ask)
Can I use a regular inkjet printer for DTF printing at home?
No, you cannot use a regular inkjet printer with standard ink for DTF printing. However, you can convert certain regular inkjet printers (like Epson ET-8550 or L1800) into DTF printers by loading them with specialized DTF inks, DTF film, and using RIP software to manage the white ink layer.
Can I make DTF transfers using a Cricut machine?
A Cricut machine cannot print DTF transfers because it is a cutting tool, not a printer. However, you can use Cricut Design Space to layout your graphics, print them using a DTF printer, and then use a Cricut EasyPress to heat transfer the design onto your t-shirts.
What software do I need for DTF printing at home?
You need RIP software (such as AcroRIP or CADlink) in addition to design programs like Photoshop or Canva. RIP software is essential because standard printer drivers cannot handle the white ink channel or control ink limits required for high-quality DTF printing.
How much does a DTF printing setup cost for beginners?
A beginner DTF printing setup ranges from $300 to $800 if you build a DIY converted Epson printer. Purpose-built desktop DTF printer bundles usually cost between $1,500 and $3,500, which include the printer, RIP software, DTF inks, films, and adhesive powders.
Can I use a household iron instead of a heat press for DTF transfers?
While a standard household iron can work for small DIY DTF transfers, a heat press is strongly recommended. A heat press provides consistent temperature and even pressure, ensuring your DTF designs adhere properly and survive repeated machine washes.