Learn how to use DTF transfer film step by step. This beginner-friendly guide covers all the tools, tips, and steps to get perfect prints every time.
🧰 What You’ll Need Before You Start
To apply DTF transfer film, you’ll need:
- ✅ DTF Transfer Film (your printed design)
- ✅ DTF Adhesive Powder
- ✅ Heat Press Machine
- ✅ Garment (like a T-shirt)
- ✅ Lint Roller
- ✅ Teflon Sheet or Baking Paper
🛠️ Tip: Using high-quality materials gives you brighter colors and longer-lasting prints.

🔧 How to Use DTF Transfer Film (Step-by-Step)
Step 1: Preheat the Heat Press
- Set to 160–170°C (320–338°F)
- Time: 10–15 seconds
- Use medium to firm pressure
This prepares the press to bond the film to the fabric fully.
Step 2: Prepare Your Garment
- Lay the shirt flat
- Use a lint roller to remove dust or hair
This ensures that nothing interferes with the design transfer.
Step 3: Position the Film
- Place the film face-up on the fabric
- Align the design where you want it
Make sure the image is centered and straight.
Step 4: Press the Transfer
- Press for 10–15 seconds
- Keep the pressure firm and even
This step fuses the film and adhesive to the shirt.
Step 5: Let It Cool and Peel
- Allow the film to cool completely
- Then, peel it off slowly and evenly
Peeling too soon can damage the design.
Step 6: Do a Final Press (Recommended)
- Cover the design with a Teflon sheet
- Press again for 5–10 seconds
This final press makes the print smoother and longer-lasting.

🧪 Tips for Better DTF Prints
- Use just the right amount of powder—not too much, not too little
- Make sure your heat press has even pressure
- Test your process on one shirt before doing bulk orders
- Keep unused DTF film dry and dust-free
🏆 Why Choose Winnerjet for Your DTF Printing Needs?
If you’re new to DTF, Winnerjet offers a full line of trusted supplies:
- ✅ DTF Printer – Easy to use, excellent output quality
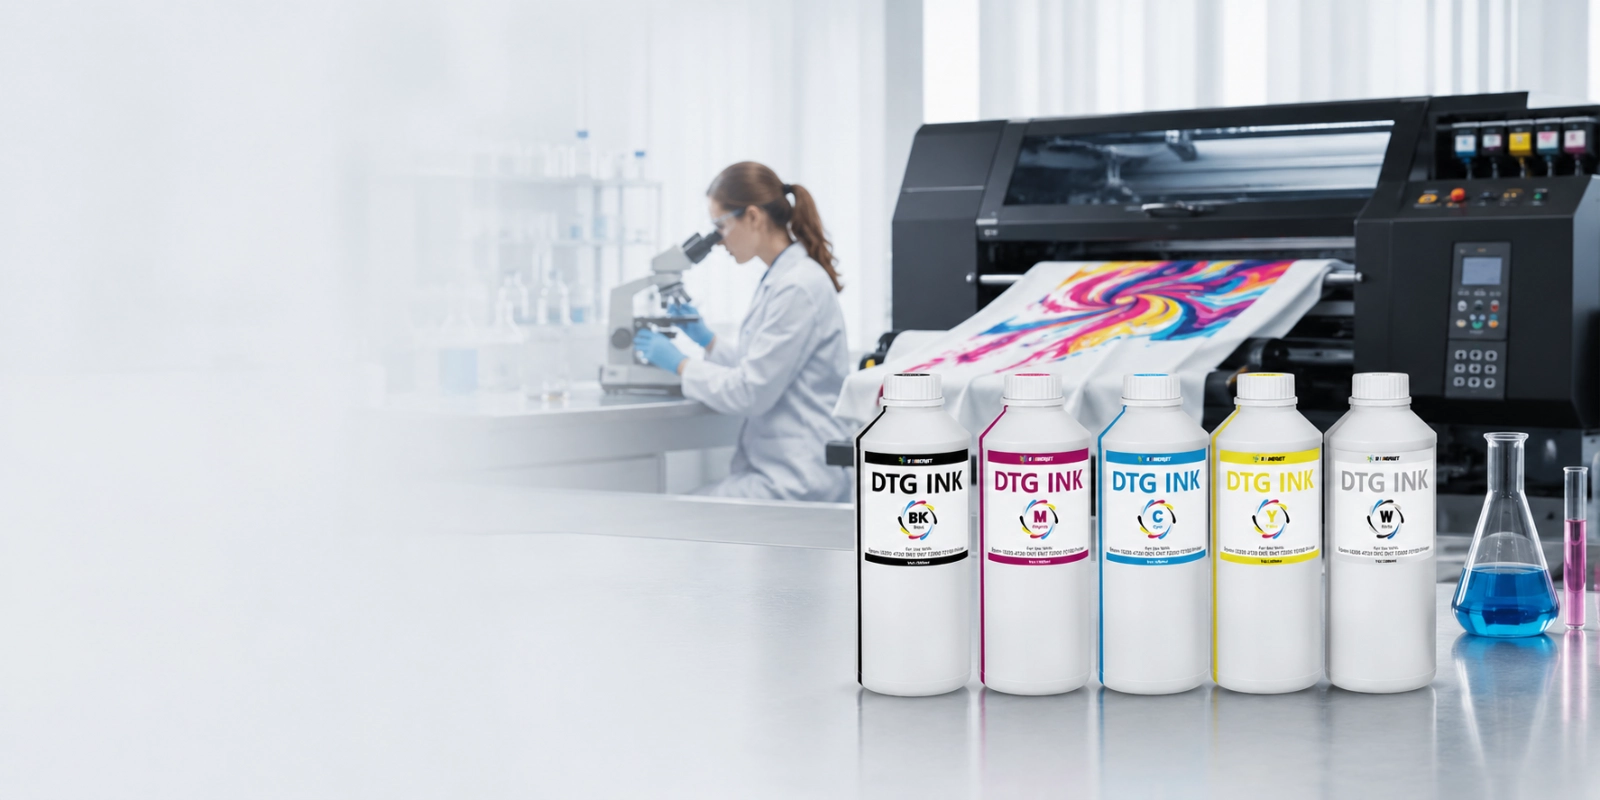
- ✅ DTF Ink – Bright colors, smooth printing
- ✅ DTF Film – Anti-static, anti-scratch, works with all printers
- ✅ DTF Powder – Strong bonding, soft touch
- ✅ Heat Press – Consistent temperature and pressure control
🎖️ Winnerjet’s DTF ink is SGS and RoHS certified. Trusted by over 500 global clients.

🧠 FAQs
Can I use a regular iron for DTF transfers?
No. A heat press is required to provide enough pressure and heat.
What kind of fabric works best?
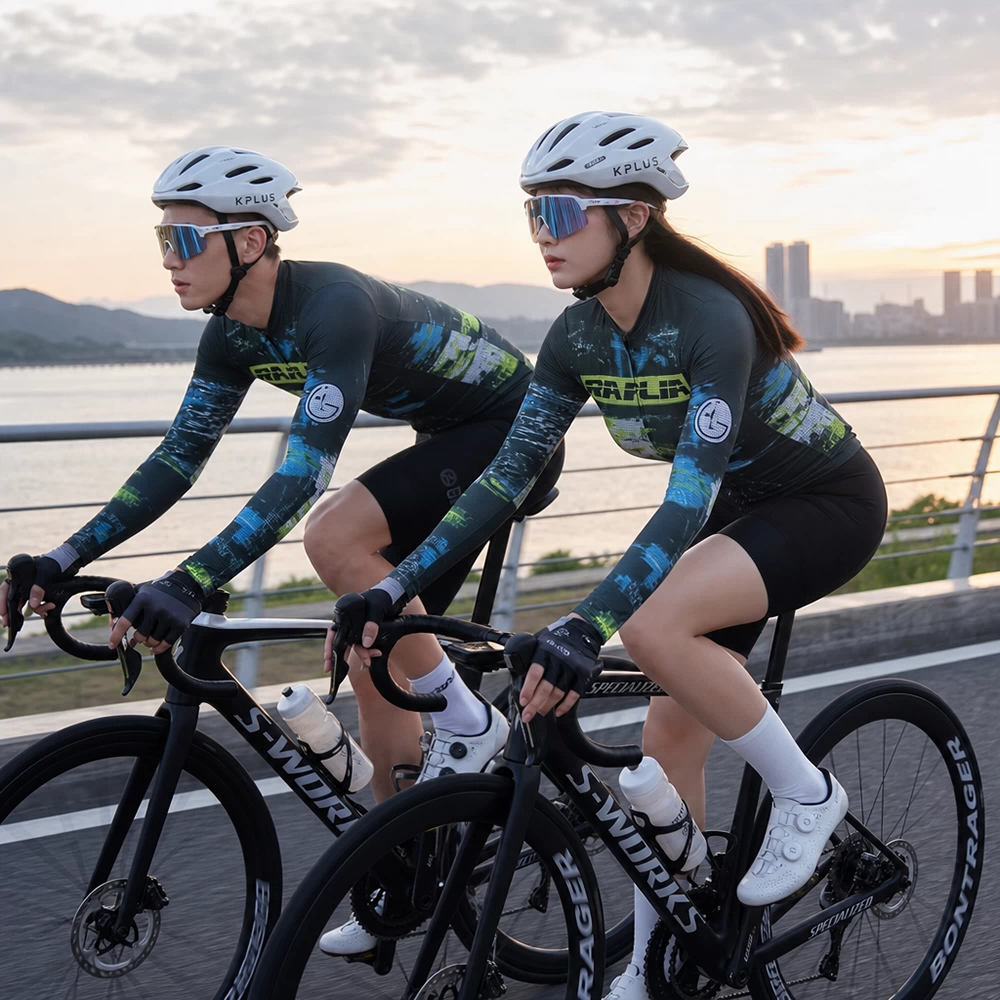
DTF works well on cotton, polyester, or blends—light and dark.
Why is my paint peeling?
You may have used the wrong temperature and time or peeled too early.
Do I need a final press?
Yes, it improves the print’s durability and finish.
Is DTF film reusable?
No. Each film is for single use only.